How Industrial CT Scanning is Improving Additive Manufacturing
When most people hear the phrase “CT scanning,” an image of a gowned patient being pushed into a giant chamber comes to mind. This type of CT scanning is a powerful diagnostic tool in the medical field, and it can also assist in creating additively manufactured parts in the medical device industry. Just as medical professionals read patients’ CT scans to diagnose conditions, device designers can use patient data to recreate their anatomy, and manufacture models, guides, and even patient-matched implants.
Industrial CT scanning follows the same process, the difference being parts and products are scanned instead of patients. At rms Company, we feel industrial CT scanning will play an increasingly important role in facilitating the use of additive manufacturing (AM) in the medical device industry. CT scanning can often provide cost effective, more detailed, and faster part evaluation than conventional measuring methods.
Reduce Costs
Industrial CT scanning is not a new technology. People have been CT scanning parts for decades, but it is still not utilized as much as you would think. Historically, CT scanning metal objects was an expensive, time-consuming process. Thanks to technical breakthroughs over the last 15 years, those labels are quickly disappearing. High-powered systems, along with automation, cloud computing, and software developments have drastically lowered the cost and time necessary to obtain and evaluate high-resolution, quality CT data. In many cases, CT scanning is now more cost effective than traditional evaluation methods like Coordinate Measuring Machines (CMM).
Perform Non-destructive, Detailed Evaluations
Today, nearly all AM applications for end-use devices leverage the manufacturing flexibility of additive manufacturing to broaden the design window of the product. It is vital that manufacturers ensure organic, complex AM products are geometrically accurate for patient safety, however, these geometries are by nature very difficult to measure with methods like CMM and gauging. Industrial CT scanning, paired with CAD comparison software, is an ideal tool for obtaining difficult-to-measure geometries.
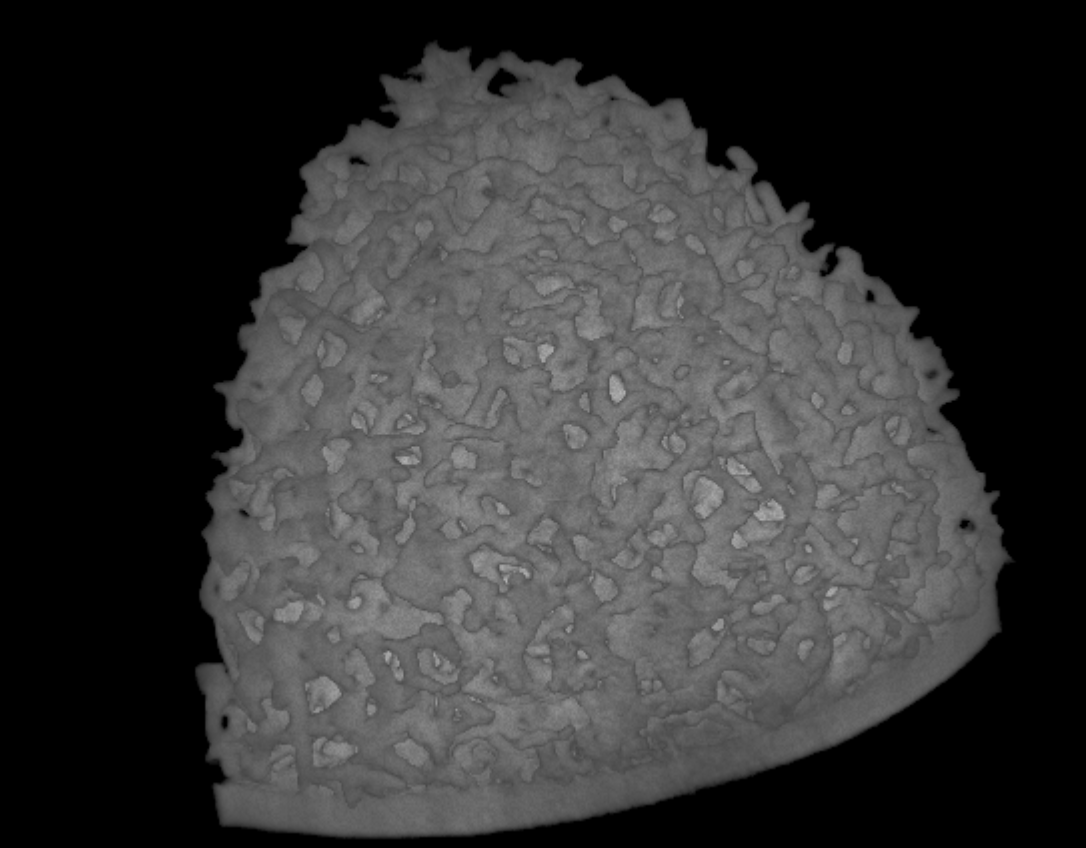
CT scanning can provide a more detailed evaluation of porous structures than traditional methods. Nearly every product rms Company manufactures in our AM department has some degree of surface modification, lattice, or porous structure integrated into the part design. Currently, the standard practice for measuring these types of structures is a time-consuming and destructive metallography technique. This technique is not only cost prohibitive to conduct on a regular basis, but it also provides only a snapshot of the entire structure corresponding to a single plane. Industrial CT scanning is one of many evaluation techniques referred to as non-destructive testing. This means it can provide information about the integrity and quality of a part without destroying the part in the process.
Save Time
In fracture-critical applications, it is crucial that the component has no critical defects. One way the AM industry has safe-guarded against the presence of defects is by subjecting AM metal products to a Hot Isostatic Pressing (HIP) heat treatment following the AM process. The combination of heat, time, and pressure acts to close and eliminate any internal porosity in a component. However, HIP is a relatively expensive and time-consuming process. Adding HIP to the process flow for an AM product typically adds at least two weeks to the production cycle. For products like patient-matched implants, an additional two weeks can be quite problematic as there is a patient who is typically in pain and immobile waiting for their custom implant to be manufactured.
It is possible to evaluate AM metal products for the presence of manufacturing defects such as cracking, lack of fusion, and porosity with CT scanning. By leveraging industrial CT scanning, manufacturers can ensure there are no critical defects in their products and eliminate HIP from the workflow, gaining several crucial days in delivering implants to patients.
Conclusion
These are just a handful of examples of how industrial CT scanning compliments additive manufacturing. There are many others including root-cause analysis, surface roughness evaluation, and first-article inspection. rms Company believes that leveraging industrial CT scanning will allow us to continue to improve and grow the capabilities of our AM division. rms Company has recently established a partnership with the industrial CT scanning experts at Meter to provide this service to our customers.
Please reach out to us to learn more about how we can leverage industrial CT scanning to develop and produce your products.

